Conducting a Meeting
The organizer of the meeting is the default presenter, and initially controls the meeting. Once a Meeting ID has been issued, the Collaboration window will be divided into four sections (Figure 30.5):
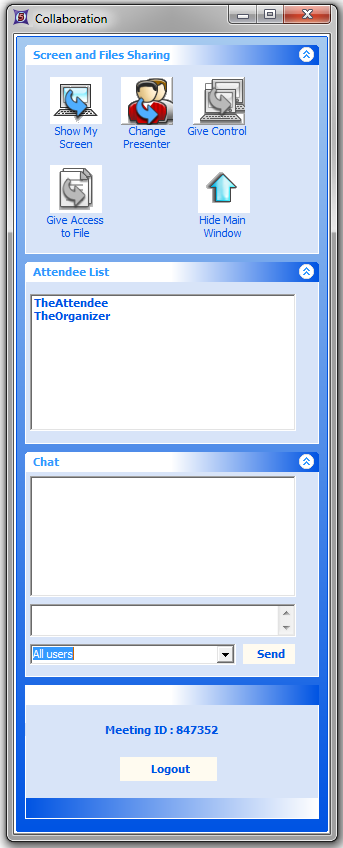
Figure 30.5 Collaboration Window with a Meeting in Progress
| • | Screen and Files Sharing |
This section contains five buttons which have the following functions:
| o | The Show My Screen button starts/stops the display of the presenter's desktop to the other attendees. Initially, the organizer is the presenter. When Show My Screen is clicked by the presenter, all of the meeting attendees will see the presenter's desktop on their computer screens, the button's label will change to Stop Showing, and the Give Control button will be activated. Clicking the button again (Stop Showing) stops the display of your desktop (the other users will see their own desktops again). |
| o | The Change Presenter button transfers the presenter's role to another attendee. Click on the button and select the user to become the new presenter from the pop-up menu. They will be prompted to accept or decline the role as presenter. If they accept, they will be asked if they want to start showing their screen. You will be notified if they accept. As presenter, they are now in control of the meeting (i.e., they can now give control to other users and transfer the role as presenter to other attendees). |
| o | The Give Control button allows the presenter to let another user control their desktop. Click on the button and select the user to give control to from the pop-up menu. That user will see the following message from the FCS Collaboration Portal You can control the presenter's desktop. When they click on OK, the user will be controlling the presenter's computer with their mouse. If the presenter clicks on the button again (the label has changed to Change/Stop Control), they will be presented with a pop-up menu allowing them to take back control or pass it to another attendee. |
| o | The Give Access to File button is only activated once the presenter gives control to another attendee. Then, when the presenter clicks on this button, it activates the ability for the other user to access files on the presenter's computer. Since access to file transfer means that the other user has complete privileges over browsing, creating, deleting, and moving files on your computer, you will be prompted as to whether or not you want to give that permission. |
Once file access has been granted, both parties will be presented with a Select the folder where the received files will be saved dialog (Figure 30.6). Note: Even if file transfer will be in only one direction, both parties must choose an "Inbox" using this dialog to proceed.
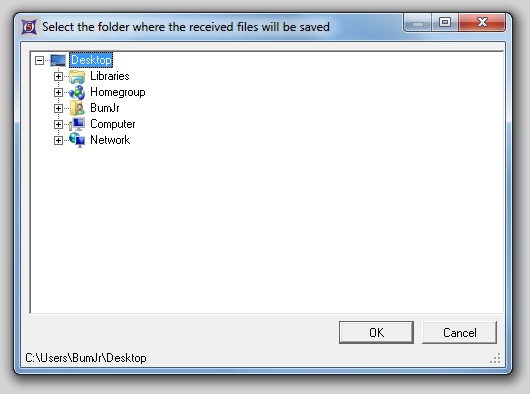
Figure 30.6 Choosing an Inbox for File Transfer
To transfer a file, the user who has been given permission, should perform the following steps:
1. Find the Files window labeled with the presenter's username (Figure 30.7). In the example, the presenter was TheOrganizer.
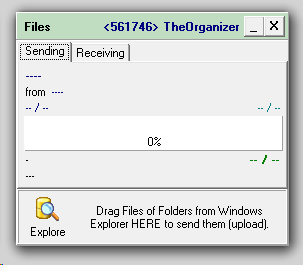
Figure 30.7 Files Window
| 2. | Click on the Explore icon (button) in the lower left of the presenter's Files window to bring up the presenter's File Explorer window (Figure 30.8). |
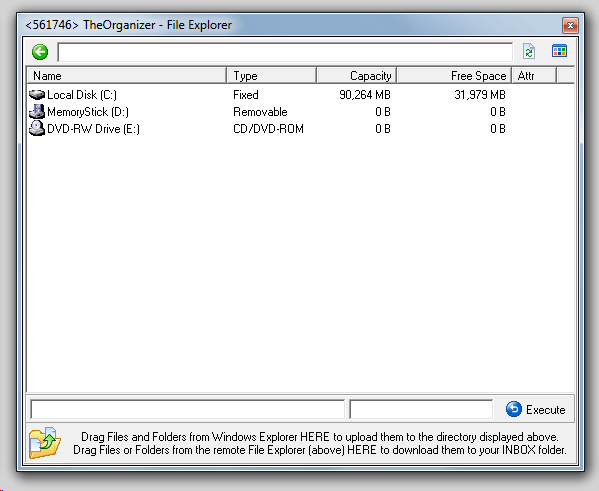
Figure 30.8 File Explorer Window
| 3. | Browse through the window to find the file you want. Then, click and drag that file to the bottom of the window and release it in the region marked "HERE" at the bottom of the window (Figure 30.9). In the Figure, note that the cursor has changed to an arrow with a document as the selected file is dragged to the drop area. |
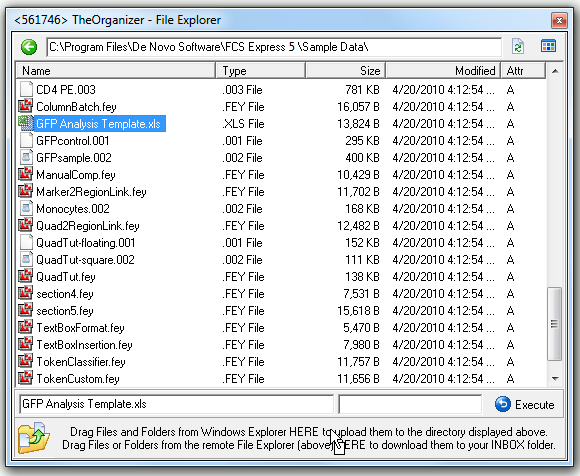
Figure 30.9 File Sharing - Drag & Drop
| 4. | The file will be transferred to the "Inbox" (chosen above) of the user's computer. The progress can be monitored in the Files windows (Figure 30.10). |
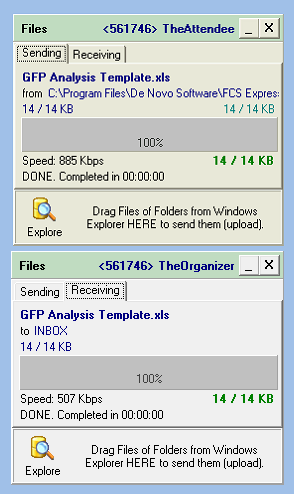
Figure 30.10 File Sharing Progress
| o | Hide Main Window |
Click this button to minimize the Portal window (Figure 30.11). To re-open the Portal window, click on the down-arrow icon (button) on the right of the minimized window.
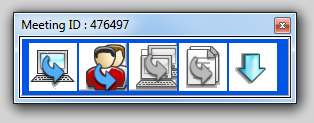
Figure 30.11 Minimized Portal Window
| • | Attendee List |
This area shows the usernames for each person attending the meeting.
| • | Chat |
This section contains four controls (Figure 30.12):

Figure 30.12 Chat Area
| o | Message area. The chat messages will be displayed in this box, along with an indication of who sent each message. |
| o | Enter chat message text. This is the area where you type your message text. |
| o | Drop-down list of users. Use this control to choose which user(s) to send your chat message to (All users or an individual user listed by username). |
| o | Send button. When you have entered the text and chosen the user(s) to send the message to, click Send. |
| • | Meeting ID and Logout Button |
To quit the meeting, click Logout.
