Adjusting Compensation Definitions from a 2D Plot
It is also possible to adjust the compensation definition from a 2D plot itself. Right-click on the plot and select Compensation from the pop-up menu. The compensation item contains one submenu for every compensation definition that is used on the plot (maximum one per overlay). For step-by-step instructions on using the this feature please see our Manual Compensation Tutorial.
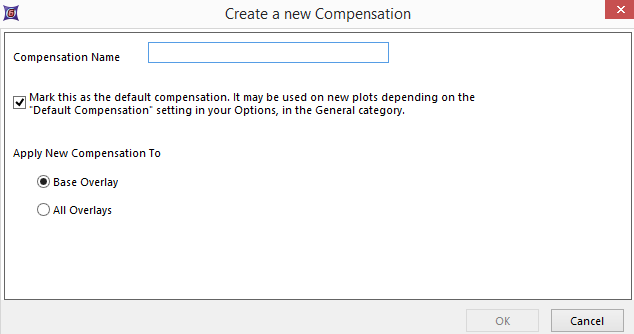
The first item in the Compensation submenu is Create New, which allows you to create a new compensation definition. If you select Create New, a dialog will appear asking you to enter a name for the new compensation as well as some additional information (Figure 16.21). To edit an existing compensation definition, select the appropriate submenu item.

Figure 16.21 Creating a New Compensation from a 2D Plot
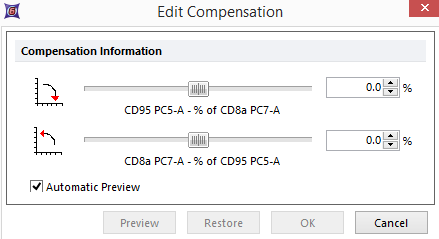
After naming a new compensation and clicking OK, or selecting a compensation definition to edit, the Edit Compensation dialog will appear (Figure 16.22). Use this dialog to compensate the two parameters against each other on the plot. Move the slider to either increase or decrease the amount of compensation. If you check Automatic Preview, the plot will update with the new compensation settings as you edit the compensation in real-time. If the Compensations window is open and displaying the compensation currently being edited, the Compensation Matrix and Spillover Matrix values will update in real time, as will plots to which the compensation has been applied.
Click Cancel to reject the compensation changes and exit the dialog, or Restore to discard the changes but continue editing the plot. Once you press OK, the compensation settings for any plot on your layout to which this compensation was applied will be changed to the new values.

Figure 16.22 Edit Compensation Dialog
