Inserting Pictures
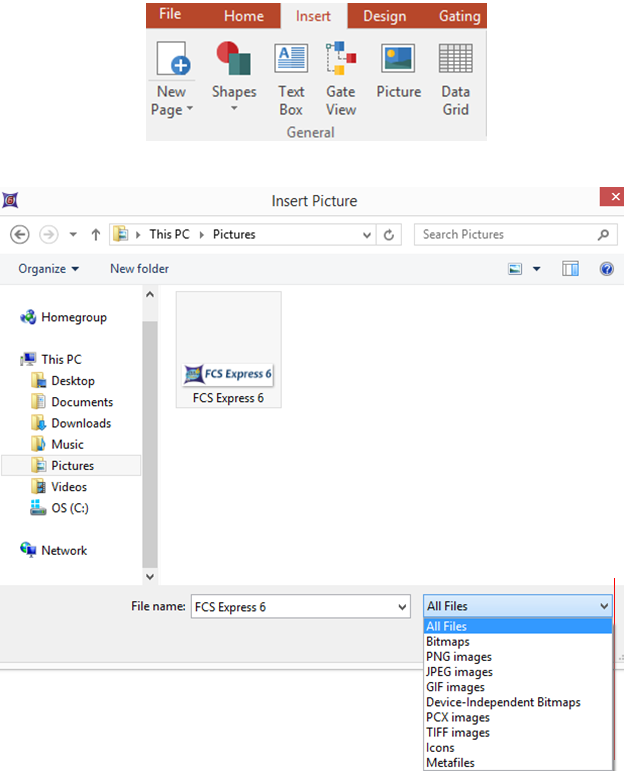
To insert a picture onto a layout page, use the Insert→General→Picture command. Click on the layout where you would like to place the picture and the Insert Picture dialog (Figure 5.1) will appear, allowing you to select the picture you want to insert. Once the picture has been selected, click on the arrow located on the Open button (to the right of the file name), and choose either Yes or No for embedding picture. In both cases, the picture will be placed on the current page.

Figure 5.1 - Insert Picture Dialog
The following graphics file types are supported: Windows Bitmaps (*.bmp), Portable Network Graphics (*.png), JPEG files (*.jpg), GIF (*.gif), Device-Independent Bitmaps (*.dib), PCX Images (*.pcx), TIFF (*.tif), Icons (*.ico), Windows Metafiles (*.wmf), and Windows Extended Metafiles (*.emf).
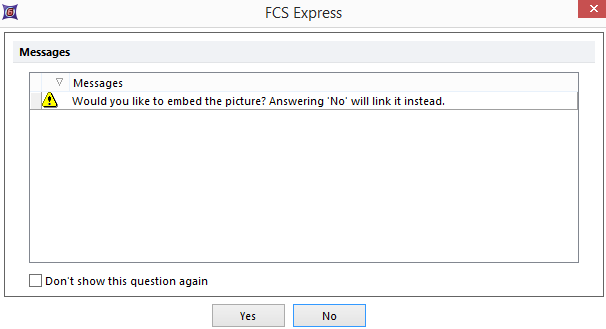
Once a picture is selected to be inserted, an Embed Picture Message (Figure 5.2) will appear. If you choose Yes, the picture will be saved as part of the layout file. If you choose No, the picture will not be saved as part of the layout and the file will be smaller. However, if the layout file is moved to another computer, or the picture is moved to another location, the linked picture will no longer be visible when the layout file is opened.

Figure 5.2 - Embed Picture Message
