Inserting and Modifying a Table

Contents
Tables are another way to insert and organize data in a layout. FCS Express supports a wide variety of formatting options for tables.
In the course of this example, we will:
•Insert a table into a text box.
•Modify table properties.
To insert a table:
1.Select File tab→New Layout to open a new layout.
2.Insert a text box and have it open in edit mode (green border). For help with inserting a text box, see the previous section of this tutorial, "Inserting Text Boxes".
3.Select the Text→Insert Text→Insert Table command (Figure T5.17). (You can also right-click within a text box and select Table→Insert Table from the pop-up menu.)
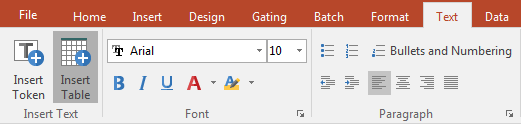
Figure T5.17 Insert Table Command
An Insert Table dialog will now appear (Figure T5.18).

Figure T5.18 Insert Table Dialog
Here you can select the properties of the new table. The default settings are two columns and two rows.
4.Press OK to accept the default properties.
A new table will appear in the text box (Figure T5.19).
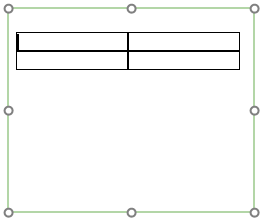
Figure T5.19 Table Inserting in a Text Box
To Modify a Table:
1.Click inside the table to select it.
2.Select the Text→Table→Table Properties command (Figure T5.20) or right-click on the table and select Table→Table Properties from the pop-up menu.

Figure T5.20 Table Properties Command
A Table Properties dialog will appear (left side of Figure T5.21).
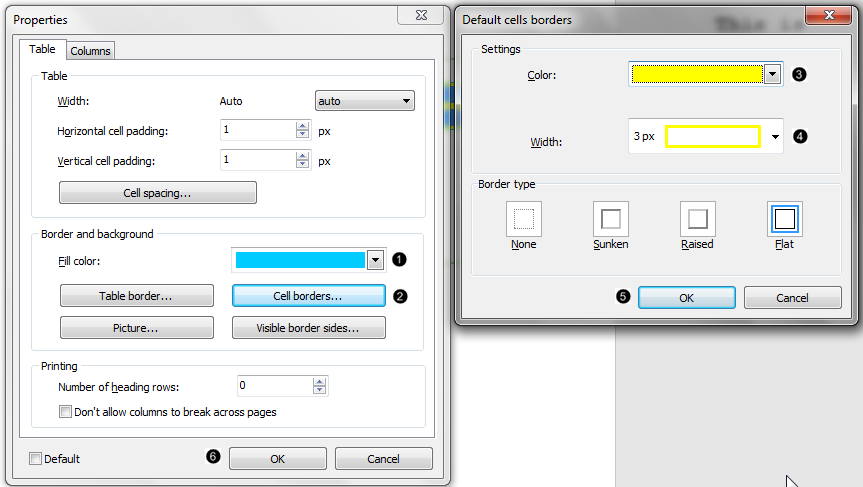
Figure T5.21 Table Properties and Default Cells Border Dialogs
3.Select the color Sky Blue from the Fill Color drop-down list (Figure T5.21 ![]() ).
).
4.Click on the Cell Borders… button (Figure T5.21 ![]() ). The Default Cells Borders dialog will appear (Figure T5.21 right panel).
). The Default Cells Borders dialog will appear (Figure T5.21 right panel).
5.Change the cell border Color to Yellow (Figure T5.21 ![]() ).
).
6.Change Width to 3 (Figure T5.21 ![]() ).
).
7.Press the OK button on the Default Cells Borders dialog (Figure T5.21 ![]() ).
).
8.Press the OK button on the Table Properties dialog to accept the changes (Figure T5.21 ![]() ).
).
The resulting table should now look like the one on the right of Figure T5.22.

Figure T5.22 Formatted Table
Select File tab→Close Layout to close the layout we were just working on.
We will now proceed to inserting and modifying a token.