Adding Custom Data
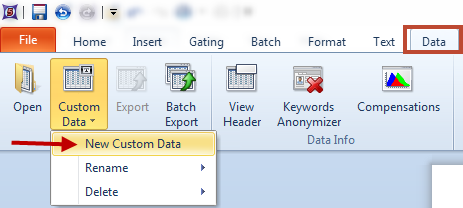
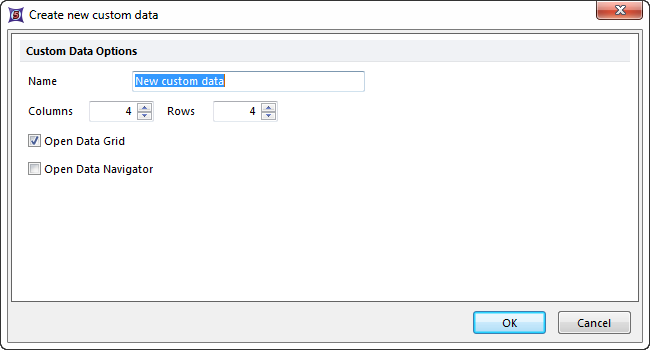
To define Custom Data, use the Data→Save/Load→Custom Data→New Custom Data command to bring up the Create new custom data dialog (Figure 11.1). Alternatively, if a Data Navigator is visible, you can right-click on the Data Navigator and choose New Custom Data from the pop-up menu.

New Custom Data Menu from Data Tab

Figure 11.1 Create New Custom Data Dialog
To create the elements for the custom data:
| • | Assign a Name to the Custom Data. |
| • | Set the number of columns and rows using the spin controls. The number of rows represents the number of data elements. The columns represent the parameters of your data. |
| • | The option for Open Data Grid is selected by default. You can additionally choose to open the Data Navigator. |
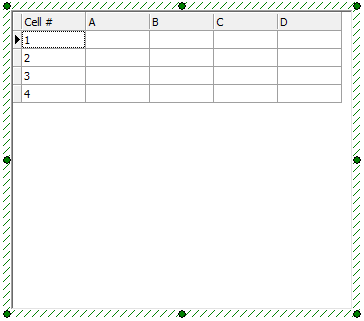
| • | When you are finished, click OK. The Create new custom data dialog will disappear. A new custom data grid will appear on your screen, similar to the image below. |
| • | The cells of custom data grid will be filled with text, numbers or tokens. |

New, Empty Custom Data Grid
