Working with Custom Data
To work with Custom Data efficiently, you should have a Data Navigator open.
If you have added Custom Data, a node will appear in the Data Navigator with the name you assigned (Figure 11.2).
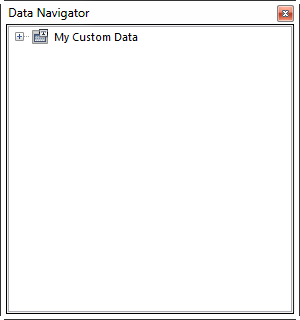
Figure 11.2 Data Navigator with Custom Data Node
You work with custom data in a Data Grid. To add a Data Grid to your layout:
| 1. | Click on your Custom Data Node and while holding the mouse button down, drag the node to a layout page. A Select Plot Types... dialog will appear. |
| 2. | Check Data Grid (Scatter Plots, and Bar Charts can also be used in to graphically display Custom Data). |
| 3. | Click OK. A Data Grid will appear with the number of rows and columns that you previously defined (Figure 11.3). |
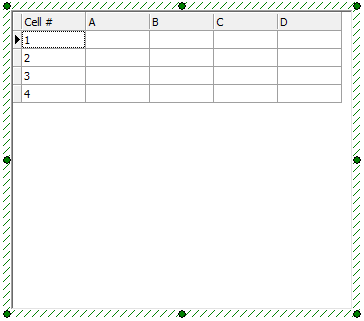
Figure 11.3 Empty Data Grid (Custom Data)
The default column names are Cell #, A, B, C, D, etc. The Cell # is fixed (it cannot be renamed but can be hidden by unchecking the Show the Cell Number box in Format→General) and the rows (representing the events/"cells" in your custom data) are automatically numbered for you. The remaining columns represent the parameters in your custom data. You can rename a column as follows:
| 1. | Click on the column header (e.g., A) to select/highlight the entire column. |
| 2. | Right-click anywhere in the highlighted column and choose Rename Selected Column from the pop-up menu. |
| 3. | Rename the column in the Enter the new name for column field (Figure 11.4) and then click OK. |

Figure 11.4 New Column Name
| • | Click on any cell (outside of the Cell # column) to select it. An edit bar will appear above the data grid (Figure 11.5). |
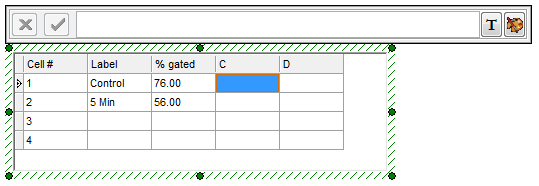
Figure 11.5 Custom Data -- Data Grid with Edit bar
| o | To enter Text, simply start typing. Focus will automatically move to the edit field, and the text you type will be displayed. Alternatively, you can click in the edit field and start typing. (Figure 11.6). |
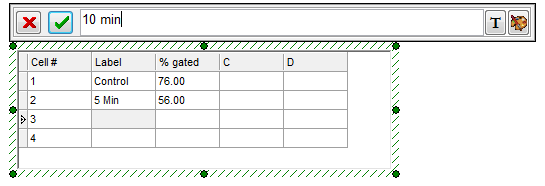
Figure 11.6 Custom Data -- Entering Text
| o | To enter a mathematical formula, type '=' followed by the formula (Figure 11.7). |
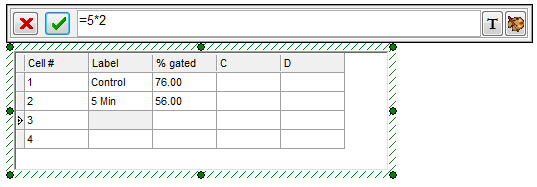
Figure 11.7 Custom Data -- Entering a Formula
| o | To insert a statistic or Custom Token, click on the |
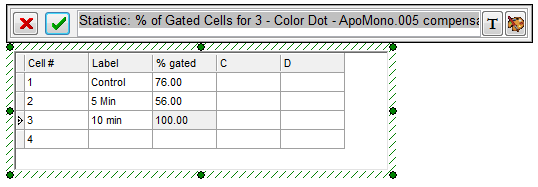
Figure 11.8 Custom Data -- Inserting a Statistic Token
| o | To accept the entry in the edit field, click the |
| o | To insert a color name or code from the Color Picker click the |
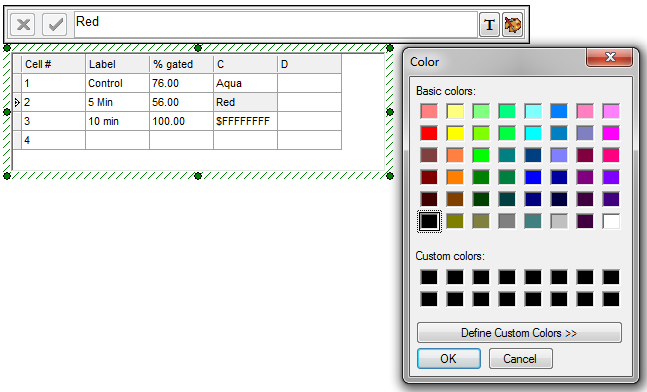
Figure 11.9 - Using the Color Picker to add color names and codes to the Data Grid.
